SvelteKit and Go
After playing around with various bits and pieces, I think I’ve found a workable development model for me. I had a look at htmx and I kinda like it. It comes closest to what I’m used to in terms of developing web applications. But that’s also the problem. I want to learn something new. As I mentioned before, that something is Svelte. Now there’s a new kit in town (see what I did there? 😂) that promises to provide a kind of application framework for Svelte.
But I’m still not very familiar with developing modern Javascript applications. I’m more at home in the backend, thus my love for Go. I recently watched a video series on Youtube though that explained SvelteKit in quite some detail. The videos are only a few minutes long and explain one particular concept each. At least, now I have some idea of how SvelteKit is supposed to work. I also watched a nice video by one of the maintainers of Svelte and SvelteKit, Geoff Rich, which I highly recommend – not least because he reminds me of Otis from the Netflix series Sex Education, and I like Otis. 😅
The Setup
Coming from a Go background, my goal is to have a single statically-linked binary that I can just run on a server behind Apache (or nginx or whatever floats your boat). But I didn’t know how to combine SvelteKit with a Go API server. Luckily, I wasn’t the first one to try this and there are a few blog posts online that explain it. I borrowed from several of them and also from the official documentation for SvelteKit’s adapter-static as this is what makes it all possible.
So here’s how I set it all up. Apologies that it’s very Linux-centric but that is what I use daily (and have been for more than 20 years).
Prerequisites
You’ll need a few obvious things to get it all working.
Just download the appropriate file for you system (go1.21.4.linux-amd64.tar.gz
in my case) and extract it to the proper location (/usr/local/go on Linux).
Further instructions can be found in the official
docs.
I’ve found it easiest to extract the Node tarball to a temporary directory (or
your home) and rsync the whole shebang to /usr/local like so:
$ tar xaf node-v21.1.0-linux-x64.tar.xz
$ cd node-v21.1.0-linux-x64
$ sudo chown -R root:root . # make sure the files in /usr/local are owned by root after rsync'ing
$ sudo rsync -a * /usr/local/
After you’ve done this once, you can keep it all up to date using a small package called n (what a name 😅). This is my process for updating it all:
$ sudo npm install -g n@latest # install/upgrade n itself
...
$ sudo n latest # you can also use stable instead of latest
...
$ sudo npm install -g npm@latest # upgrade npm because Node doesn't always ship the latest version
...
That’s it, you’re ready to go (pun intented).
Create a Go project
$ mkdir example-app
$ cd example-app
$ go mod init example-app
go: creating new go.mod: module example-app
There’s nothing special about this. Anyone who has ever created a Go project (at
least from Go 1.12 onwards) will be familiar with this. It will create a
go.mod file that should look something like this:
module example-app

go 1.21.4
Initialise the frontend SvelteKit project
# still in the example-app dir
$ npm create svelte@latest frontend
...
This will ask you a few questions about your desired project layout. I chose to use a Skeleton project with TypeScript and ESLint and Prettier enabled. Afterwards we will have to adjust a few things to get it all working.
First, we need to install the frontend dependencies:
$ cd frontend
$ npm install
...
This will download all the dependencies that Svelte and SvelteKit require and anything you chose to use (like TypeScript and linters etc.) when initialising the frontend. But that’s not enough. We need to install an adapter that will compile your frontend to static files that can be served from the Go server. There are several different types of adapter for different kinds of deployment of your Svelte app. We’ll use adapter-static.
$ npm install -D @sveltejs/adapter-static
...
Tweak the frontend
Now that we have all components in place, we need to tweak some settings to make it all work together. I borrowed heavily from this blog post. Be aware that it seems to have been written for an older version of SvelteKit. Some of the file paths have changed and some settings go in different places.
First, let’s switch to adapter-static from the default adapter-auto. Edit
the file svelte.config.js and replace the line (should be the first) that imports adapter-auto so
that it looks like this:
import adapter from '@sveltejs/adapter-static';
// ...
You can leave the rest untouched for now.
SvelteKit uses some special paths and filenames to structure the application.
The most important directory is the src/routes directory. This is the place
where most application code lives. Each directory represents a different page of
your application here. You place your page code in a special file called
+page.svelte in each of these directories. There’s already one at the top
level of the routes directory.
Alongside these, another special file can be created, called +layout.ts (or
+layout.js if you don’t use TypeScript). It’s a file for page options which we
will use to instruct SvelteKit how to render our frontend so that it can be
served from Go. Go ahead and create src/routes/+layout.ts (or .js) and put the
following code in it:
export const prerender = true;
export const trailingSlash = "always";
As far as I understand it, the first option makes sure that pages are prerendered as much as possible (see docs). The second option makes our lives easier a little later when serving the frontend from our Go backend. And that’s it, basically, for setting up the frontend configuration.
The Go backend
$ cd .. # you should be back in example-app
Here we’ll create a very simple Go webserver that will serve our frontend and also have an API endpoint for the frontend to consume. I omitted most of the error handling, and you’d also need to make sure to use appropriate middleware for rate limiting, authentication and so on.
First, create a main.go file and add the following content:
package main

import (
    "encoding/json"
    "log"
    "net/http"
)

func main() {
    mux := http.NewServeMux()
    mux.Handle("/api/", apiVersion("1.0"))

    log.Fatal(http.ListenAndServe(":3785", mux))
}

func apiVersion(version string) http.Handler {
    return http.HandlerFunc(func(w http.ResponseWriter, r *http.Request) {
        w.Header().Add("Content-Type", "application/json")
        json.NewEncoder(w).Encode(map[string]string{"version": version})
    })
}
This will create an HTTP server listening on port 3785 that returns the
specified API version in a JSON object if you query
http://localhost:3785/api/.
$ curl http://localhost:3785/api/
{"version":"1.0"}
Bundling the frontend code
So, how do we serve our frontend from a single Go binary? Go has supported embedding files into the binary since version 1.16 with the embed package. We’ll use that to include the generated frontend code. So let’s generate it first. The way you do this is by executing the following steps:
$ cd frontend
$ npm run build
...
This will place the generated code in the build directory of our frontend. You
can actually change that directory (let’s say to output) by including two options in
svelte.config.js like this:
// ...
    kit: {
        adapter: adapter({
            pages: "output",
            assets: "output"
        })
    }
// ...
If you change the directory, you’ll have to make sure to replace all occurrences
of build in the handler function below. There are other options you can use
(see the docs) but for our purposes we don’t need them, the defaults are just
fine.
You might be wondering whether you need to generate the frontend code manually
every time but don’t worry, we’ll use Go’s generate functionality for that. To
do that, create a frontend.go inside the frontend directory and add the
following code:
package frontend

import (
    "embed"
    "io/fs"
    "log"
    "net/http"
    "strings"
)

//go:generate npm install
//go:generate npm run build

//go:embed all:build
var files embed.FS

func Handler(path string) http.Handler {
    fsys, err := fs.Sub(files, "build")
    if err != nil {
        log.Fatal(err)
    }
    filesystem := http.FS(fsys)

    return http.HandlerFunc(func(w http.ResponseWriter, r *http.Request) {
        r.URL.Path = strings.TrimPrefix(r.URL.Path, path)
        http.FileServer(filesystem).ServeHTTP(w, r)
    })
}
All right, let’s take that apart. The two //go:generate lines download the
frontend’s dependencies and then build our frontend code when we call go generate. The //go:embed lines embeds all files from the build directory in
the binary upon calling go build once we have wired up the frontend.Handler
in our main Go code.
The Handler function takes a path and returns an http.Handler. We’ll see in
a bit why that path argument is useful. Inside the function we first remove the
build part from the embedded files, that is, we create an fs.FS that
contains all the entries below build. That’s because build will not be part
of the URLs called to access these files but it’s easier to embed the whole
directory.
Next, we create an http.FileSystem from the embedded files. In our returned
HandlerFunc we strip the path we passed to Handler from the request URL. That
way we can “mount” the frontend at whatever path we like in our Go server.
Note: The original blog
post contained
some code in the returned HandlerFunc that checked if the requested file existed
at all and, if not, appended .html to the URL. This was to account for the
SvelteKit frontend code requesting, for example, /a and expecting /a.html to
be served. But this case is exactly why we set the trailingSlash option
earlier. I believe, the code to check for this is therefore unnecessary.
Wiring up the frontend
Now all that’s left to do is to include the frontend handler in our Go server.
Let’s do that then and add a line to our main.go:
package main

import (
    "encoding/json"
    "example-app/frontend"
    "log"
    "net/http"
)

func main() {
    mux := http.NewServeMux()
    mux.Handle("/api/", apiVersion("1.0"))
    mux.Handle("/", frontend.Handler("/"))

    log.Fatal(http.ListenAndServe(":3785", mux))
}
// ...
We simply import the frontend and wire up the Handler at /. Here you can see
why we passed a path to the handler. I prefer to have the frontend served at the
base URL and the API at /api but we could just put the frontend under
/frontend and strip that inside the handler.
Running it all
If we want to build and run our server we can just run these commands:
$ go generate ./...
$ go build
$ ./example-app
If you nagivate to http://localhost:3785/ now it should show you the welcome
page from the SvelteKit skeleton project.
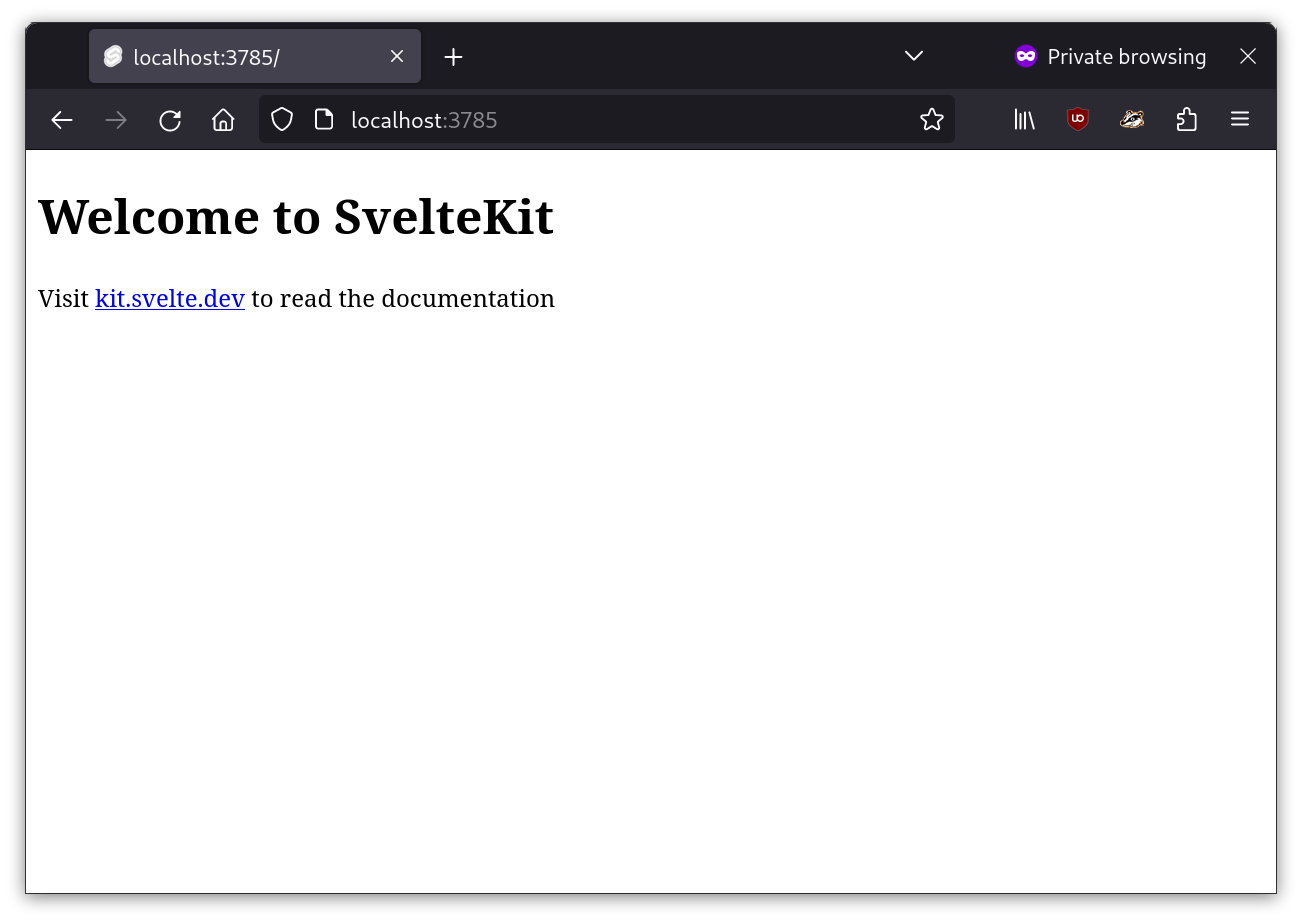
SvelteKit welcome page
You can now add pages to the frontend via the normal SvelteKit mechanism
(directories inside src/routes) but that’s a topic for another day. There are
also a few pitfalls with regards to what can be imported where in frontend code
but I’ll leave that for later, too. The post is long enough already. 😉
I mainly wrote this article for myself as some kind of reference documentation but I hope it will be useful for other people, too. If you have anything to add or correct, you can find me on Mastodon. Thanks for reading.